I don't know why, but I'm a right last minute Larry when it comes to buying decorations for events such as the Jubilee.
Bunting has been in shops since, well, probably January but I've always thought "I'll save my money and get it a bit closer to the event".
I never seem to learn though - IT WON'T BE THERE CLOSER TO THE EVENT!
So, when I went to try and find some bunting to put in my window last week, surprise surprise everyone had soldeout!
I didn't really have time to whip out my sewing machine either to make some which I would have like to have done.
I ended up buying some union flag napkins as we're going to a jubilee picnic and I thought it would make perfect bunting too! (These were from M&S and were £1.50).
How to make 10 minute Jubilee Bunting
Take a napkin and open it out. If you can't find union flag bunting then why not get red, white and blue? Or, just white and get people to decorate them for a really personalised party!
Cut the napkin in half and put Ribbon in the crease and tape or staple to the napkin. Then fold back over.
Continue with as many napkins as you want on your bunting and hang up!
Now, obviously, this bunting COULD be used outside, if the rain stays away...but we all know what good ol' Britain is like around bank holidays! So, indoors it is then!
Showing posts with label Crafting. Show all posts
Saturday, 2 June 2012
Tuesday, 20 March 2012
Felt needle case
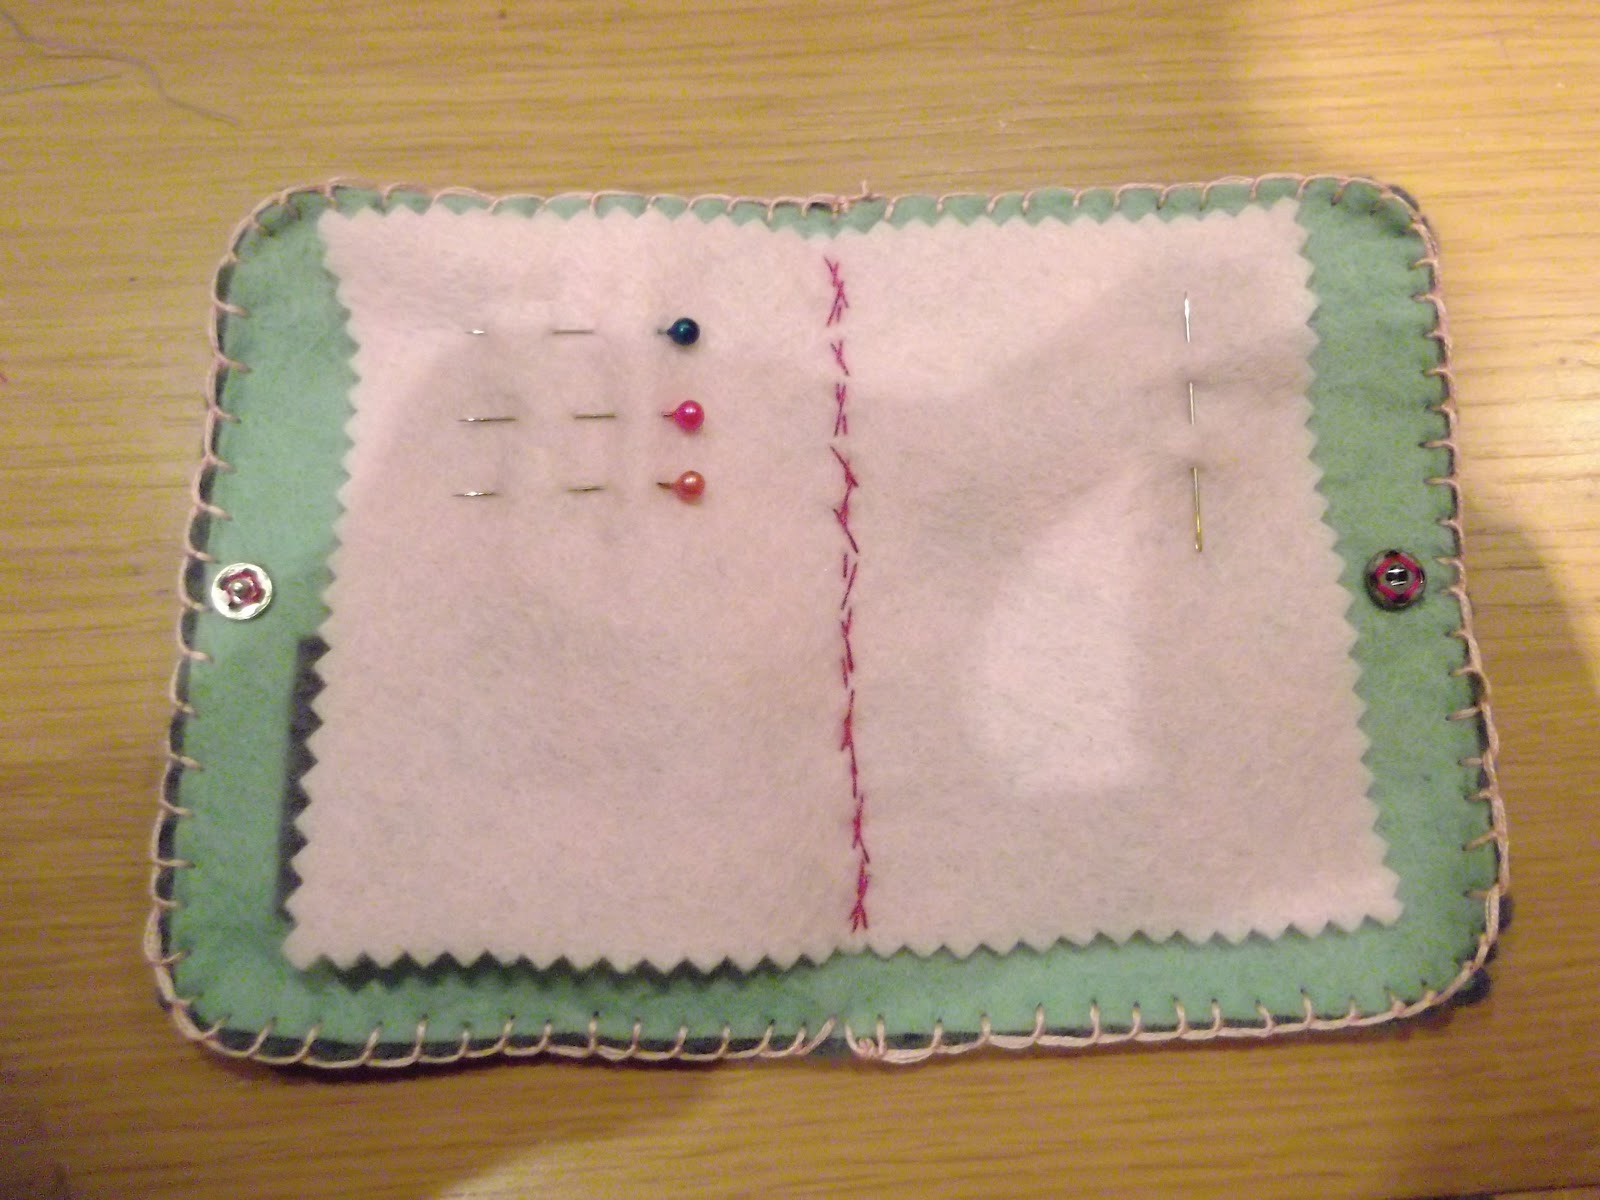
This is how to make the needle case I made for my first craft swap
with Popular Crafts magazine. You can read more about what I sent for the swap
and what I received here!
Step 2
Stitch your owl (or whatever you've made) to the outside piece of felt. I also added to little buttons that you can see just peeking in on the edge of the photo!
Step 6
Step 7
Step 8
Step 1
Cut out a template for the main part of your needle case. I made mine about 18cm by 10cm but you can do whatever size you want.
Step 2
Cut out 2 bits of felt using your template. I used contrasting colours. I also decided to round the edges but I didn't take a picture of that!
Step 3
I wanted to add a little pocket on the inside. To do this cut a little rectangle of felt. Stitch the pocket to the inside piece of felt only! It’s important to do
this before sewing the front and back together as it hides the stitches.
Step 4
Create what you want to go on top. I made an owl for mine as the theme for the
swap was owls!
Step 5
Stitch your owl (or whatever you've made) to the outside piece of felt. I also added to little buttons that you can see just peeking in on the edge of the photo!
Step 6
Cut a smaller piece of felt to make your page to
put your needles and pins on. Stitch to the middle of the inside piece of felt.
Once all the inside and outside decorations and pages have been secured
sew the inside and outside felt together using a blanket stitch.
Add your needles, pins and buttons! (As you can see I also decided to add a couple of buttons to the front)!
Tuesday, 13 March 2012
Popular Crafts February craft swap - Hearts!
I enjoyed doing the January craft swap organised by Popular Crafts magazine so much I signed myself up for the February one and March one too! No doubt when the next one comes around I'll be signing up for that too!
My swap partner was LeeAnn who has a lovely blog over at Polkadotsweetheart
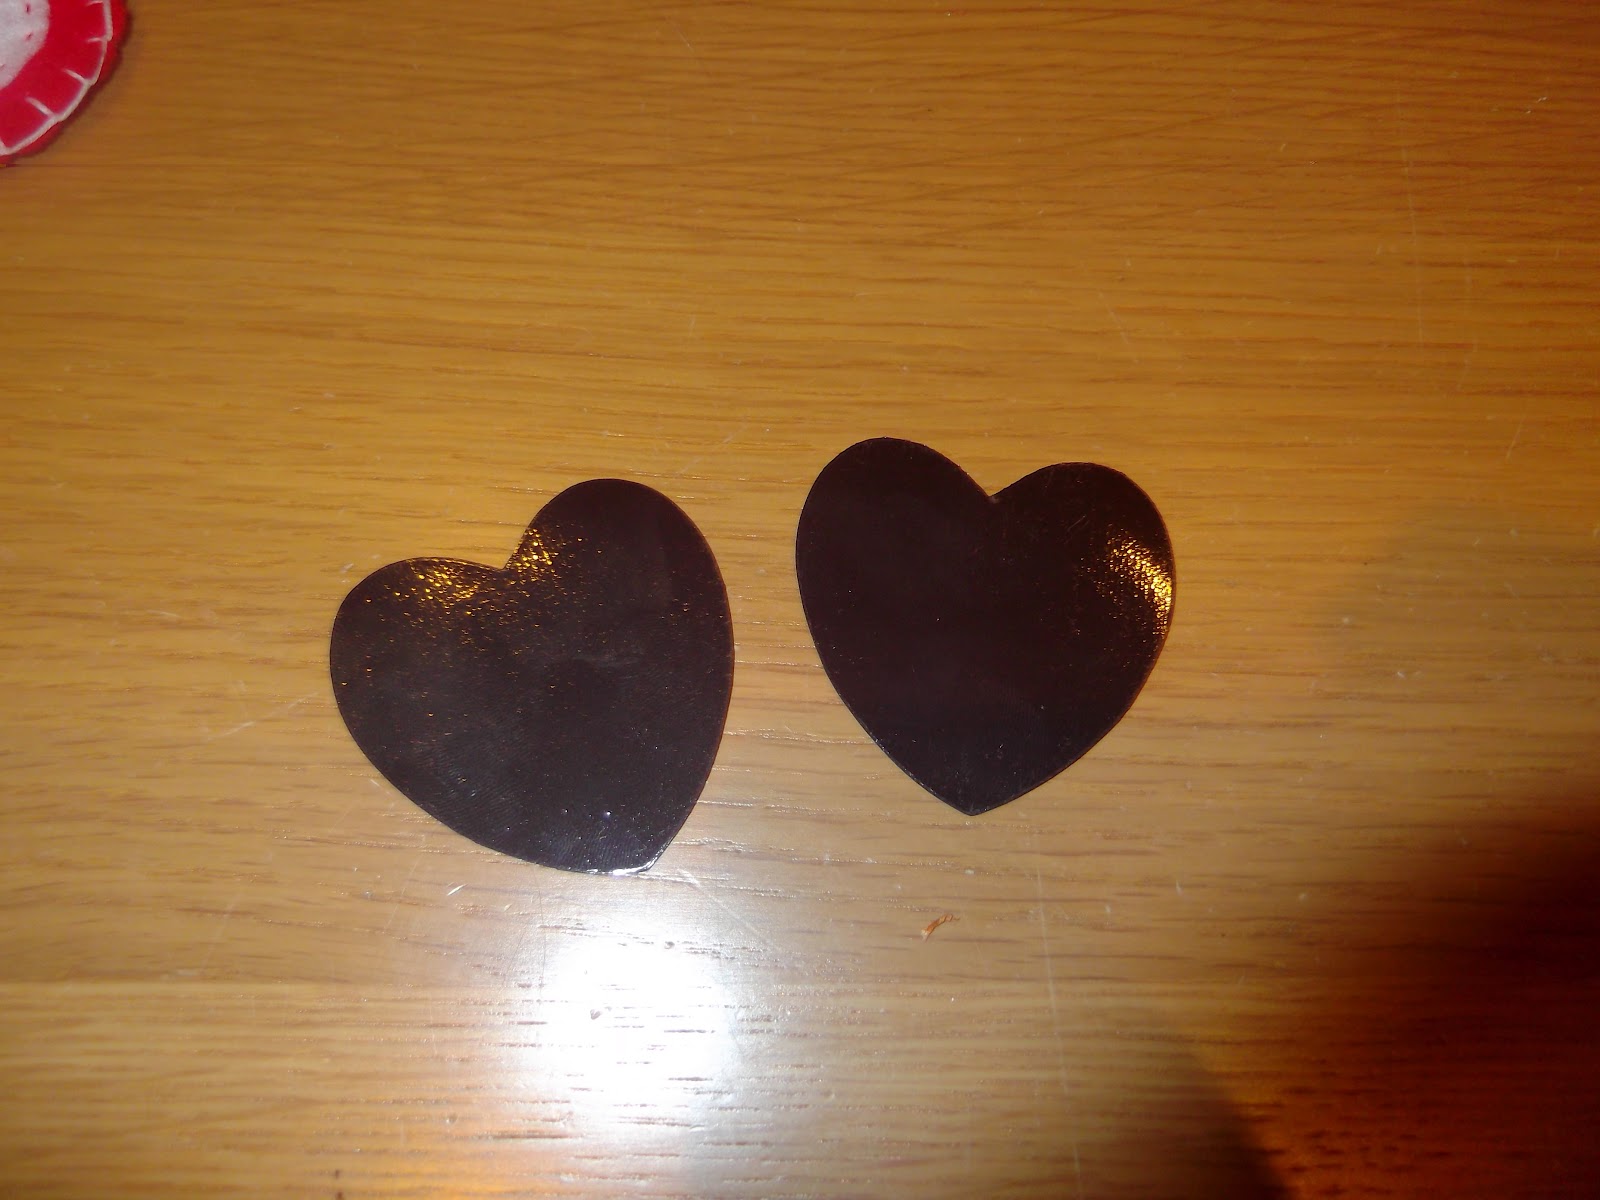
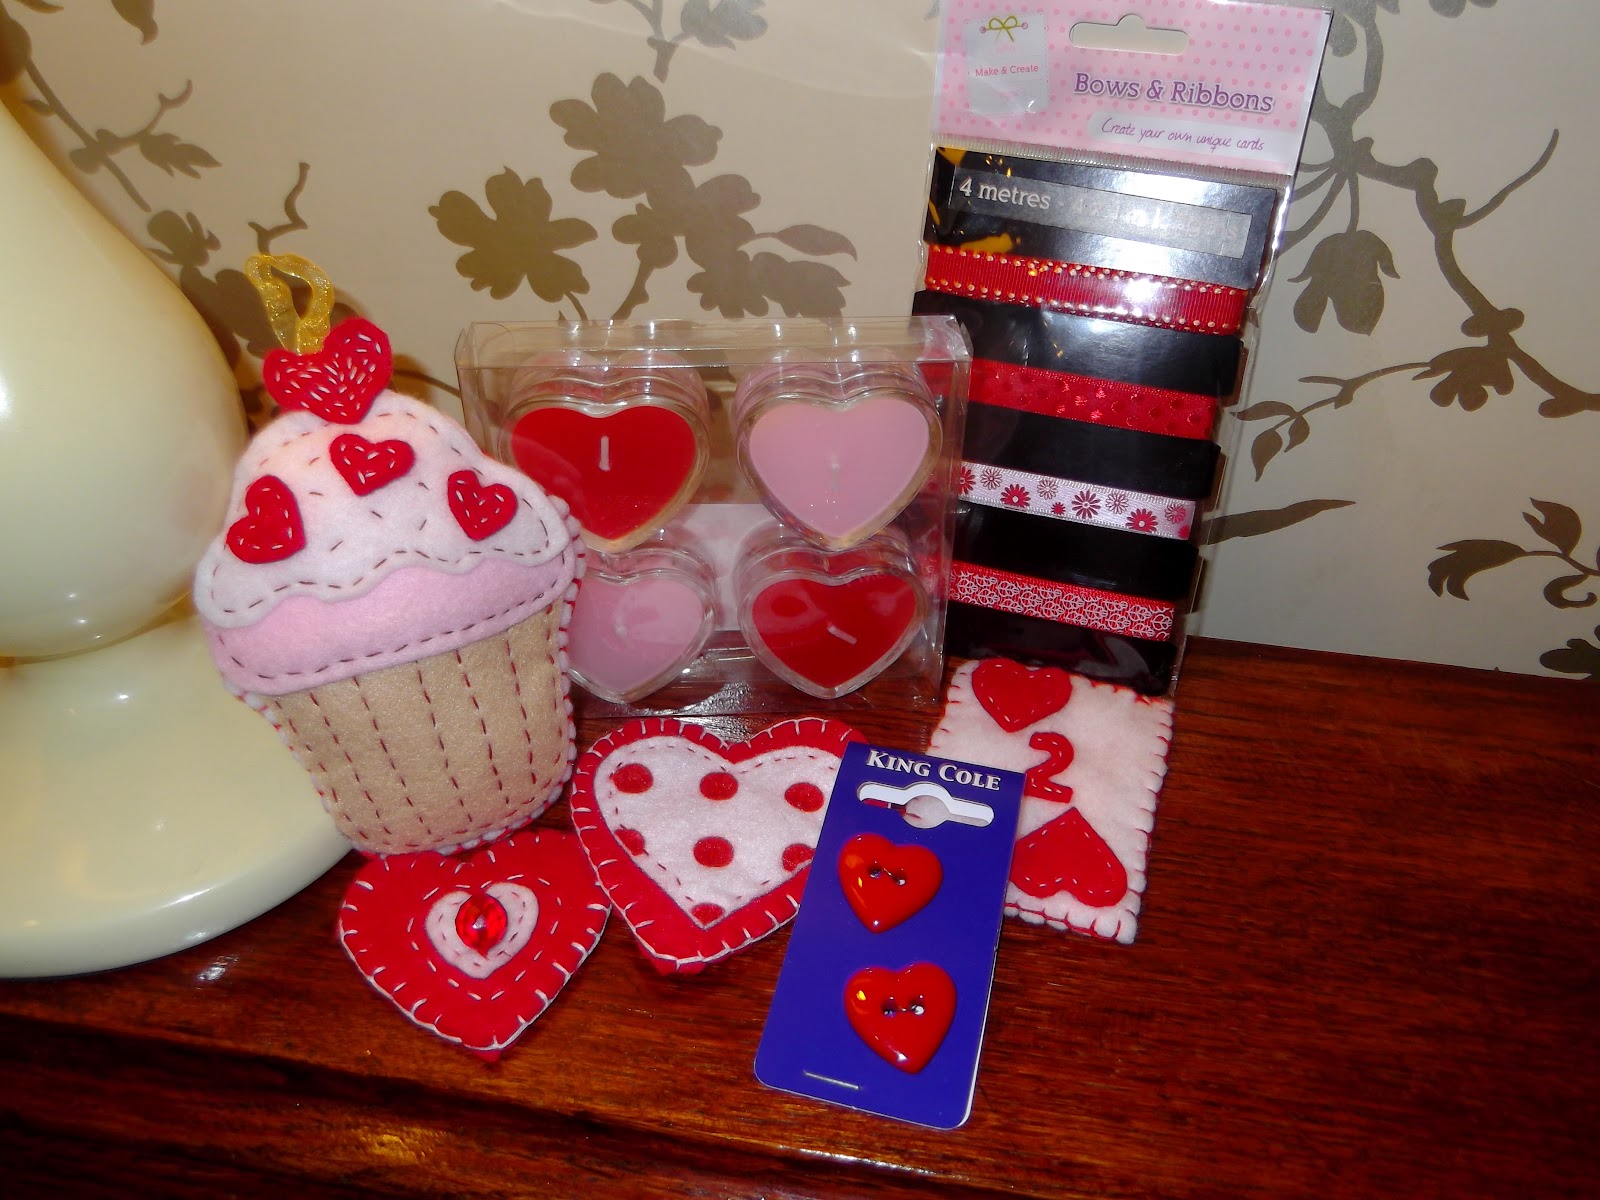
For the swap I made three heart themed magnets out of felt (and I even manged to find cool heart shaped backing magnets), and a cupcake hanger with hearts as the sprinkles!
Following the swap rules I also sent my £3 gift which consisted of some heart buttons, red ribbons and some heart shaped tealights.
I'm looking forward to seeing what LeeAnn has made for me and I'll let you all know what I get!
My swap partner was LeeAnn who has a lovely blog over at Polkadotsweetheart
For the swap I made three heart themed magnets out of felt (and I even manged to find cool heart shaped backing magnets), and a cupcake hanger with hearts as the sprinkles!
I'm looking forward to seeing what LeeAnn has made for me and I'll let you all know what I get!
Saturday, 3 March 2012
My claim to fame!
When I had a tweet saying the March Popular Crafts magazine was on sale
I got excited. When I realised the tweet said it featured me I was just over
the moon!
Luckily I was finishing work at lunch time that day so I ran (actually
did), to my local WH Smiths to find a copy. I was so chuffed to see a
screenshot of my blog staring back at me in the “sites to be seen” section!
I gave a little squeal and kinda scared the lady next to me, but who
cares, I’m famous!
I really enjoy reading Popular Crafts as I’m someone who likes to try a
variety of different craft ideas and the mag offers loads of different crafts
all at varying skill abilities.
As a new blogger this meant so much to me so thanks to Katharine at Popular Crafts for this lovely surprise. And thanks to everyone else who takes
the time to read and comment on my blog! J
Tuesday, 28 February 2012
Popular Crafts January Craft swap - Owls!
When I saw the words “Owl craft swap” pop up in my twitter feed I knew I
had to be involved with whatever it was!
This was my first ever swap and I had so much fun doing it that I’ve
just finished my second one and I’m about to post it off and am now about to start my
third!
The swap is run by one of my favourite craft magazines Popular Crafts
(which, by the way, you can see me and some other fab blogs in this months sites to be seen section)!
The swap is run monthly and there is a different theme each month. You send
your details in and receive your swap partner. You then have to make
something and purchase a gift with a £3 value and send off to your swap
partner.
My swap partner was the lovely Tracey who tweets over at @summerdaisyUK
So for the swap I made –
A felt, hand stitched and hand embroidered needle case as Tracey’s bio said she was just starting out with sewing
(not that you’d think that from what I received)!
I’ll be blogging soon about how to make the needcase.
For my accompanying gift I bought some cute paperchase owl stickers and
an owl candle holder (and I erm, didn’t end up buying myself exactly the same
things)!
And this is what I received –
A gorgeous 50’s style pinny apron and cooking utensils wrapped in two
lovely ribbons!
I love swaps!
P.s - I have no idea why my body shape looks so wierd in the above pic and please excuse my chip & dale slippers!
Labels:
Craft Swap,
Crafting,
Crafts,
Popular Crafts,
Sewing,
Swap
Monday, 20 February 2012
Felt cupcake decoration
I made this for my friend over at BeautyU’s birthday the other week. She’s
a big fan of baking and pretty things so thought this would be perfect!
· Needle and thread
· Scissors
· Beads and trimming
Draw a cupcake shape onto a piece of paper to use as a template.
Use 2 bits of paper and fold in half and cut out the template. This gives you four pieces the same size (although I only needed 3 in the end)!
3 – icing and cherry!
Step 7
You’ll need
·
Felt
·
Stuffing· Needle and thread
· Scissors
· Beads and trimming
Step 1
Draw a cupcake shape onto a piece of paper to use as a template.
Use 2 bits of paper and fold in half and cut out the template. This gives you four pieces the same size (although I only needed 3 in the end)!
Step 2
Take each paper cupcake template and cut into the “layers”.
So I’ve got…
1 – front and back
2 – bun case and cake3 – icing and cherry!
Step 3
Use the templates to cut the correct size out of felt. (apologies for my hand shadows...stupid spotlights)!
Step 4
Check all your pieces fit together
Step 5
Using a simple running stitch sew all the pieces together, using the
stitch to add the detail.
Step 6
Add extra detail. So I added some of my bargain trimming and beads to
look like sprinkles!
Use a blanket stitch to sew the front and back together, then add the
stuffing and sew up and knot! I also added the hanger at this stage so the
loose ends were sewn neatly inside.
Step 8
Hang up and admire!!
Thursday, 9 February 2012
Bargain buys!
I always like to keep an eye out for a bargain. Actually, to be honest,
it pains me to pay full price for things these days (why when there are so many
bargains to be had)!
My next bargains were from The Works. Always great for good value books
and gifts and they also stock loads of craft goodies!
I picked up some really cute trimmings all at 59p! Even better they were buy one get one free…however, I didn’t know this until I got home and checked the receipt so I missed out on one freebie! Still a great deal though!
I’ve grabbed some great bits and bobs over the last couple of days that
I thought I’d share!
I love the store Tiger. They’re a company from Copenhagen but they have
a few stores over here now too. They always have loads of quirky (sometimes very random) items at
really good prices.
In Tiger I picked up...
3 paper punches - £1 each
Fancy edged
scissors - £1
and a set of mini stamps and ink - £2!
I picked up some really cute trimmings all at 59p! Even better they were buy one get one free…however, I didn’t know this until I got home and checked the receipt so I missed out on one freebie! Still a great deal though!
So now I'm looking forward to using all my bargain buys! Let me know if you've got any tips for a craft bargain!
Sunday, 22 January 2012
Getting crafty in Paris!
To beat the January blues and to celebrate mine and my hubbies wedding
anniversary we managed to bag a bargain deal to Paris and Disneyland Paris (I’m
a huge Disney sucker)!
As well as sightseeing and shopping I managed to get a few ideas for
some new craft projects that I wanted to share with you!
Leaving London
Ok, so this isn’t actually a new craft project but I had to share this
place with you! We grabbed breakfast in a little café at St Pancras station
called Peyton and Byrne. It’s such a cute little café and is really good value
for being in central London. They had a deal for a coffee and muffin (which was
HUGE) for £2.95!
So if you’re in London I’d recommend a visit. They have a few other
locations too! Yummy!
BHV Department store, Paris
This place is amazing! It’s a massive department store selling
everything. They have a huge crafting section which I could have wandered
around all day! They also have stations with people demonstrating all the
crafts. Why can’t we have this in the UK!
Look at the miles of ribbons and trimmings!
One thing that grabbed my eye was a product called Decopatch. I haven’t
seen this before but I’ve always wanted to try decoupage. There were a variety
of different shapes to decorate along with packs of paper and glue.
With the Euro/Pound exchange rate being pretty pants the packs were quite
pricey. After a quick Google they do sell the stuff in the UK but it’s still
quite pricey for what it is so I’m gonna try and do the same thing with
magazines and PVA glue!
Chocoholic
This isn’t a craft project but check this out!
This was actually a real tub of nuttella (also at BHV)! It was so heavy! It was only €34.99
which I didn’t think was too bad for that much chocolate. It was a bit heavy to
carry back though!
Stained glass
I’ve always wanted to try making a proper stained glass window. These
windows are from the Disneyland Paris castle and the colours are just
beautiful. I think I might have a little look for stained glass courses so I
can give it a go.
Cinderella picture
I found this vintage 70’s Cinderella book on a book stall by our Paris
hotel (for a bargain €1.50). We’ve got a Cinderella poster in the bedroom so I wanted to get this
book to make another picture using the pictures and text inside. Not sure how I’m
going to do it yet but I’ll obviously post the result when I’m done!
Subscribe to:
Posts (Atom)