
What you’ll need:
·
2 x Plain white
postage tags (I had some ready cut ones but you could cut any shape you want
from thin card)
·
Embroidery thread
·
Pencil
·
Scissors
·
Needle
·
Things to decorate
your finished tag with

Step 1
Lightly sketch your design onto your
tag.
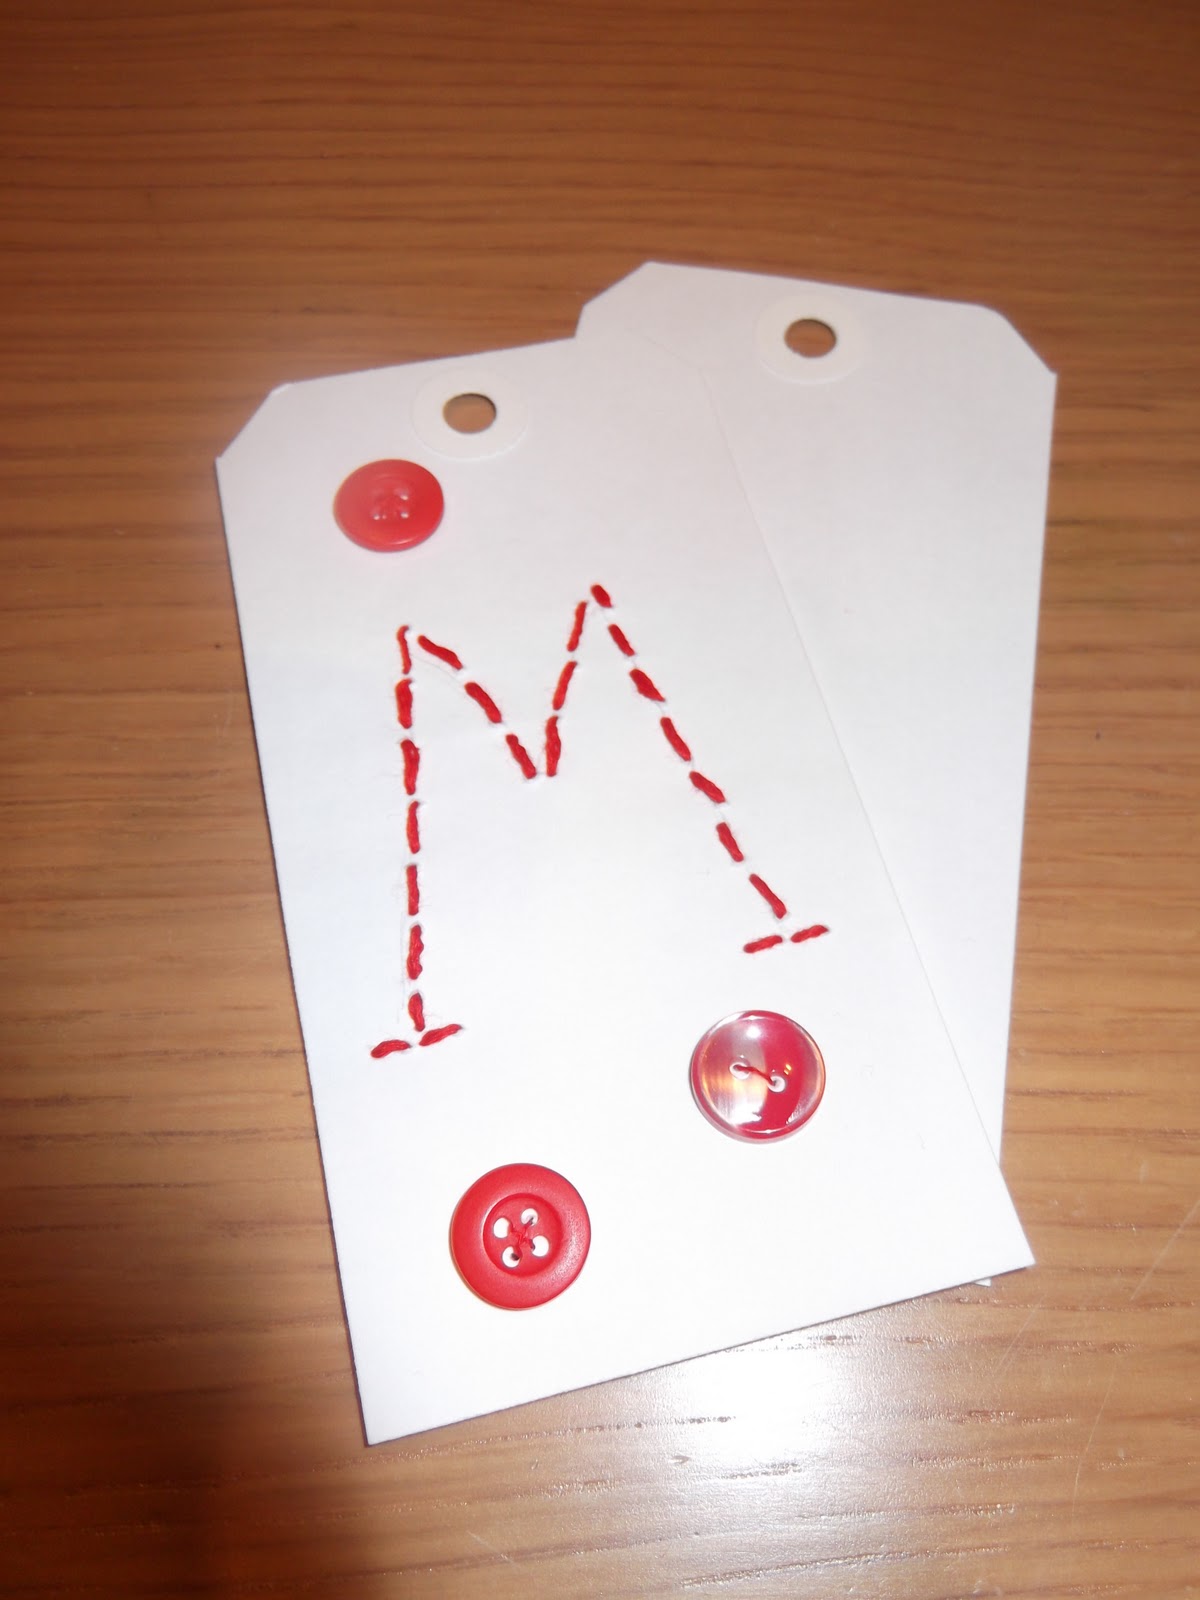
Step 2
Use a basic stitch and follow your
design. Make sure you leave a little space between each stitch so your card
doesn’t tear.


Step 3
Turn the tag over and secure the
thread by threading the needle under a stitch so you can thread a knot.

Step 4
Decide on your decorations. I used
buttons and threaded them on.
As you can see on the back I just
used the one thread but this will be hidden as this is where tag 2 comes into
play!


Step 5
Take the second tag and stitch the
two together. This hides any of the messy stitching from before!

Step 6
Add any finishing touches! I added a
little handmade bow!

No comments:
Post a Comment